Schritt 1
Open a new Photoshop file with 1000 x 1500px.
“Star environment “
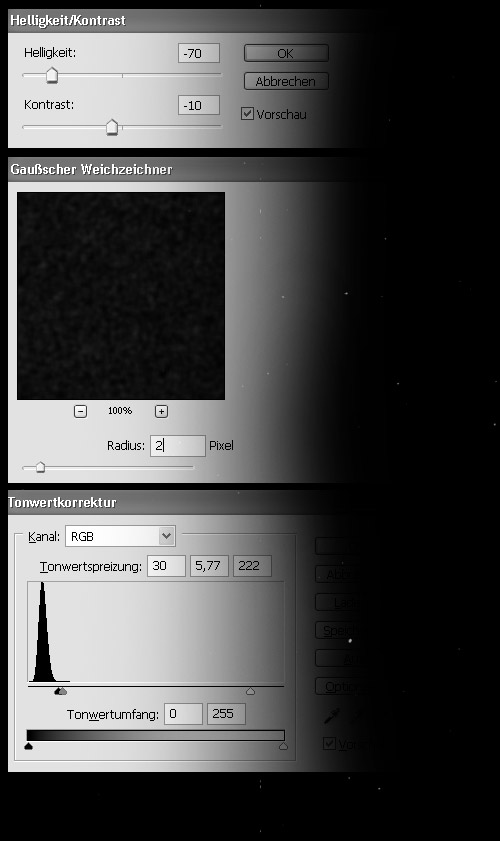
Set the foreground color to white and the background color to black. Create a new layer and colored this black. Use Filter / Noise / Add Noise with amount = 70% ( Distribution = Uniform; Monochromatic = on). Apply Image / Adjust / Brightness and Contrast with Brightness = -70 and Contrast = -10. After then go to Filter / Blur / Gaussian Blur with radius = 2. And finally we apply Levels (ctrl + l). Important are the left and middle sliders. Move they together until that the stars appear (see the settings on the Image aside).
It looks empty. To create more stars we have to reply the operation. That mean: create again a new layer – colored it black but set this time the layer blend mode to “Lighten”. Then apply Add Noise, Brightness and Contrast , Gaussian Blur and Levels again. Try to change a little bit the settings to create different star formations. You can also set the opacity down or delete with the Eraser some stars. The aim is, don’t create an equal star background.
Repeat this steps until you have enough stars.

Schritt 2
Personally I like to create a sketch to have better controlling over the composition. This sketch is put on a new top layer and if you need this, you can hide / unhide it.

Schritt 3
“The dust tail “
Create a new Layer, and draw with the line-tool (mode=pixel) a 30px wide line and apply Filter / Liquify. Smudge with a big size brush (radius = 450).
After that take a  Smudge-tool (amount = 40%- radius 40-80 px) and make some more details. You can also take an Eraser (opacity = 20 – 40 % ) to create more realistic effect. You can also duplicate the tail and transform this with strg + t.

Schritt 4
Repeat the Step3 to create more dust-tails.

Schritt 5
"Planet"
Load a planet (planet texture ) into your scene. Create a new layer under your planet and draw a white circle with the same diameter as your planet. Take Smudge-Tool again (amount = 90-98% radius 3-30 px) and smear some little tails.
After that give the Planet outer Glow , inner glow and shadow.
If you don’t know how to create a Planet, then look here “realistic planet”.
Schritt 6
"Lens Flare"
Create a new layer on the top and colored this black. Apply Filter / Render / Lens Flare ( Brightness=10-15% ; Lens type = 105 mm ). Set the layer’s blending mode to Color Dodge and move with  Tool the effect to right place. You can reply this until you have enough light effects in you scene.

Schritt 7
"The Color"
Create on the top / color balance ... und with the the settings on the picture.

Schritt 8
Last but not least create a new layer between the “stars” layers and the ”tail” layers. On this layer create an color gradient (#177EAE and #043B60 ) and set the layer-opacity to 15-25 %.

Schritt 9
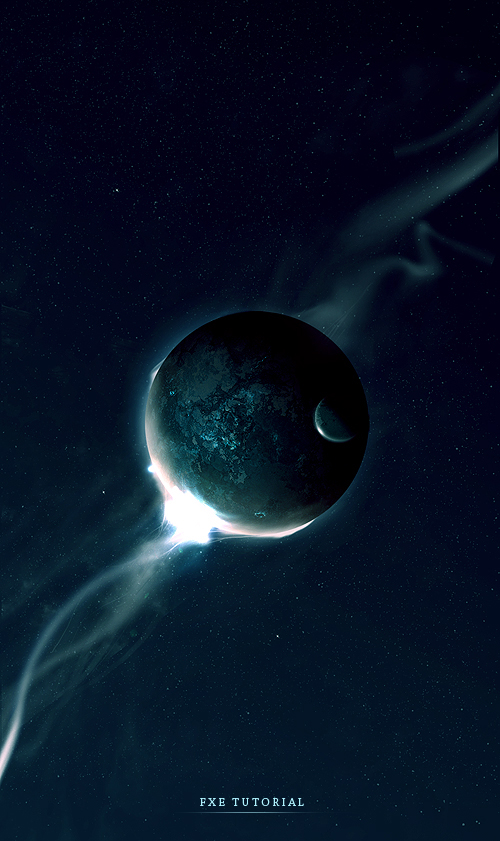
Finish ...